
Weathering the Storm: Protecting Your Pool After Rain
Rain can be a refreshing change from scorching summer days, but it can also wreak havoc on your swimming pool. Understanding how to properly manage your pool after rain is crucial for maintaining water quality, protecting your equipment, and ensuring a safe swimming environment. In this comprehensive guide, we'll explore the effects of rain on your pool and provide step-by-step instructions for post-rain pool recovery.
How rain affects your pool
While light drizzles or short showers may not significantly affect your pool after rain, heavy rainfall—especially storms with over 1 to 2 inch rainfall rates per hour—can cause several serious issues:
Chemical imbalance: Rainwater is acidic and nitrogen-rich, which can lower your pool's pH and disrupt water chemistry. This imbalance may result in several problems:
- Swimming can cause eye and skin irritation.
- Reduced effectiveness of sanitizers and disinfectants
- Increased vulnerability to bacteria and other contaminants
- Potential damage to pool surfaces and equipment due to acidic water
Dilution: Heavy rain can dilute the chlorine in your pool, reducing its effectiveness in killing bacteria and preventing algae growth. This dilution can quickly lead to water quality issues, making your pool unsafe for swimming.
Debris accumulation: Rainwater can wash leaves, twigs, dirt, and other debris into your pool. This not only makes your pool look unsightly but can also:
- Skimmers and filters, when clogged, become less effective.
- Introduce organic matter that can feed algae and bacteria
- Create stains on pool surfaces if left unaddressed
Phosphate introduction: Rain can introduce phosphates from various sources, including fertilizers, pesticides, and decaying organic matter. Phosphates are nutrients capable of:
- Promote rapid algae growth
- Make it difficult to keep a proper chemical balance.
- Lead to cloudy water and imbalanced pH levels
Equipment strain: Excessive water levels can put pressure on pool walls and equipment, potentially causing damage:
- Pool walls may crack or collapse under extreme pressure
- Pumps, filters, and heaters can be damaged by flooding
- Electrical components may short-circuit if submerged
Algae growth: The combination of diluted chlorine, increased nitrogen, and introduced phosphates creates ideal conditions for algae to bloom. A rapid algae growth can render your pool green and unsuitable for swimming.
Water level issues: Excessive rainfall can raise your pool's water level above the skimmer, reducing its ability to circulate and filter water effectively. This can lead to poor water quality and increased strain on your pool pump.

How rain affects your pool
Pre-Rain Pool Preparation
Being proactive before a rainstorm can significantly reduce the impact on your pool and make post-rain recovery much easier. If you know a storm is coming, take these comprehensive steps to protect your pool:
Balance water chemistry:
- Test and adjust your pool's pH to between 7.2 and 7.6
- Ensure alkalinity is between 80-100 ppm (parts per million)
- Adjust calcium hardness to 200-400 ppm These balanced levels will help your pool water resist changes from rainwater more effectively.

Ensure pool's pH to between 7.2 and 7.6
Shock the pool:
- Raise the chlorine level 1-2 ppm above the normal recommended level (typically aiming for 3-5 ppm total)
- Use a quality pool shock product and distribute it evenly around the pool
- Run the pump for several hours to ensure thorough distribution This "super chlorination" provides extra protection against contaminants introduced by rainwater.
Add algaecide:
- Apply a preventive dose of algaecide according to the product instructions
- Choose a product compatible with your pool type and other chemicals
- Distribute evenly and run the pump to circulate Algaecide acts as an additional defense against potential algae growth triggered by rain.
Brush pool surfaces:
- Use a pool brush to thoroughly scrub walls, floor, and steps
- Pay extra attention to corners, crevices, and areas with poor circulation
- Brush any visible algae or debris towards the main drain This action helps remove any existing algae particles and prevents them from taking hold during the rain.
Clean the pool filter:
- Backwash sand or DE filters according to manufacturer instructions
- Clean or replace cartridge filters if necessary
- Check and clean skimmer and pump baskets A clean filter system will be more effective at handling the extra load during and after the rain.
Lower the water level:
- If heavy rain is expected, consider lowering the pool water level by a few inches
- This provides extra capacity to handle rainwater without overflowing
- Ensure the water level doesn't drop below the skimmer opening
Secure loose items:
- Remove or secure pool toys, floats, and accessories
- Store pool furniture and equipment in a safe place
- Cover or protect any exposed electrical equipment This prevents items from being blown into the pool or damaged during the storm.
Clean and sanitize the drainage areas:
- Proper drainage is crucial in the area around your pool.
- Clear any blocked drains or gutters that might cause water to flow into the pool
- Consider installing or checking French drains if you have recurring issues with runoff
Cover the pool if possible:
- If you have a pool cover, consider using it to prevent debris and excess rainwater from entering the pool
- Ensure the cover is secure and can handle the weight of accumulated rainwater
Post-Rain Pool Recovery: A Step-by-Step Guide
After a heavy rainstorm, it's crucial to act quickly to restore your pool to its optimal condition. Follow these detailed steps for a comprehensive post-rain pool recovery:
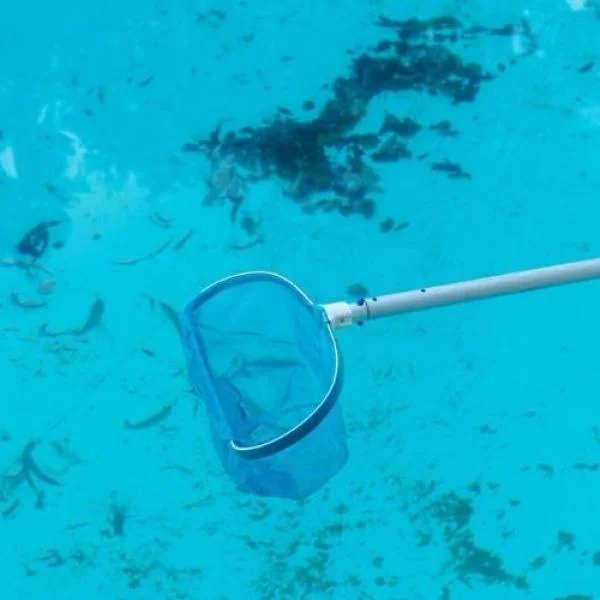
Step 1: Remove Debris
Thorough debris removal is the first and crucial step in post-rain pool recovery:
Surface skimming:
- Use a leaf rake or skimmer net to remove large debris from the pool surface
- Work methodically across the entire pool area
- Keep an eye on corners and spots where rubbish builds up.
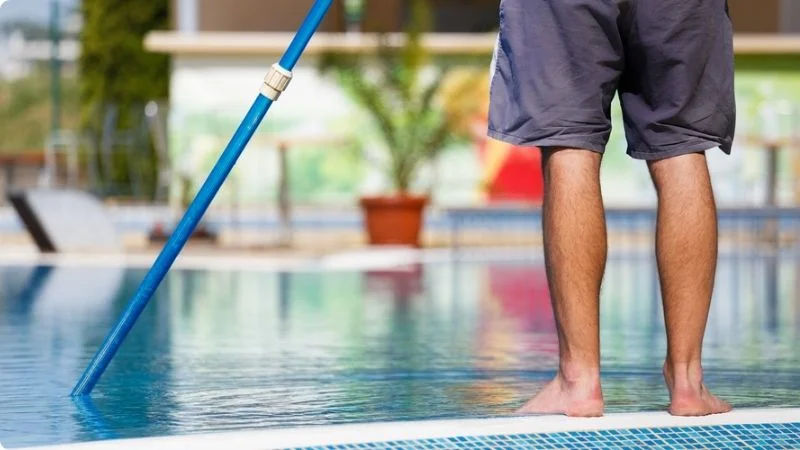
Brush pool surfaces:
- Use a pool brush to scrub walls, floor, and steps thoroughly
- Pay special attention to the water line, where dirt and oils can accumulate
- Focus on step-outs, ledges, and other areas where debris can settle
- Brush debris towards the main drain for easier vacuuming
Vacuum the pool:
- Use a manual or automatic pool vacuum to remove settled debris
- If using a manual vacuum, move slowly to avoid stirring up settled particles
- For heavy debris, consider vacuuming to waste to avoid clogging the filter
Clean out the skimmer and pump baskets:
- Empty and rinse skimmer baskets
- Clean out the pump's hair and lint trap
- Check for any damage or wear on baskets and replace if necessary
Address surrounding areas:
- Clean the pool deck to prevent additional debris from being blown or washed into the pool
- Check and clean drainage areas around the pool to prevent runoff issues
Step 2: Clean the Pool Filter
A clean, efficient filter is crucial for maintaining water quality, especially after rain. The cleaning process depends on your filter type:
For sand filters:
- Turn off the pump and clear the skimmer box and filter baskets.
- Set the multiport valve to "backwash" and run the pump for 2-3 minutes or until the water in the sight glass becomes clear.
- Turn off the pump, set the valve to "rinse," and run for 30-60 seconds to settle the sand bed.
- Return the valve to the "filter" setting and restart the pump.
- If the pressure gauge still shows high pressure after backwashing, consider a chemical clean of the sand.
For cartridge filters:
- Switch off the pump and take out the cartridge from the filter housing.
- Rinse thoroughly with a hose, paying attention to the pleats.
- If the cartridge is very dirty, soak it in a filter cleaner solution for the recommended time (check the product label).
- After soaking, rinse the cartridge again until the water runs clear.
- Inspect the cartridge for damage or excessive wear, replacing if necessary.
- Reinstall the clean cartridge and restart the pump.
For diatomaceous earth filters:
- Backwash as you would for a sand filter.
- After backwashing, add the correct amount of fresh DE powder to the skimmer while the pump is running.
- Run the filter for at least 30 minutes to allow the DE to coat the filter grids properly.
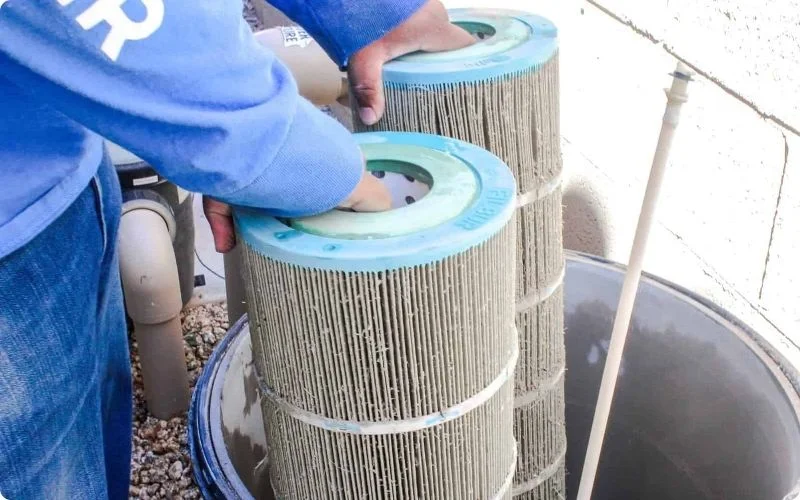
Check and if necessary, clean or replace the cartridge filters.
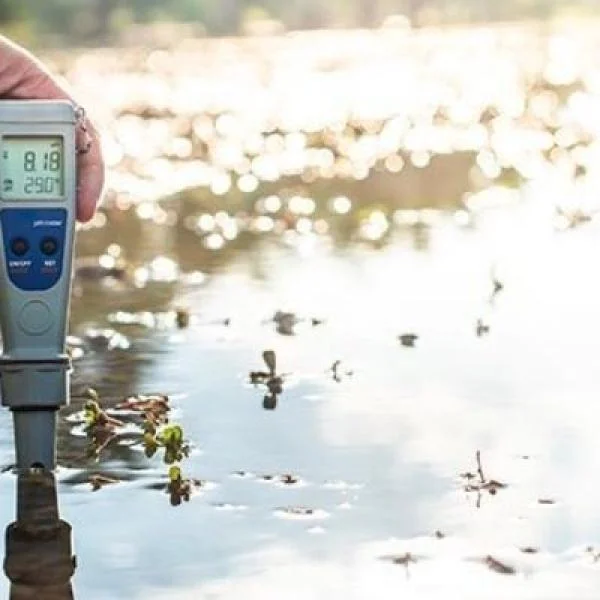
Step 3: Test and Balance Water Chemistry
Accurate water testing and balancing is critical for safe, clean pool after rain:
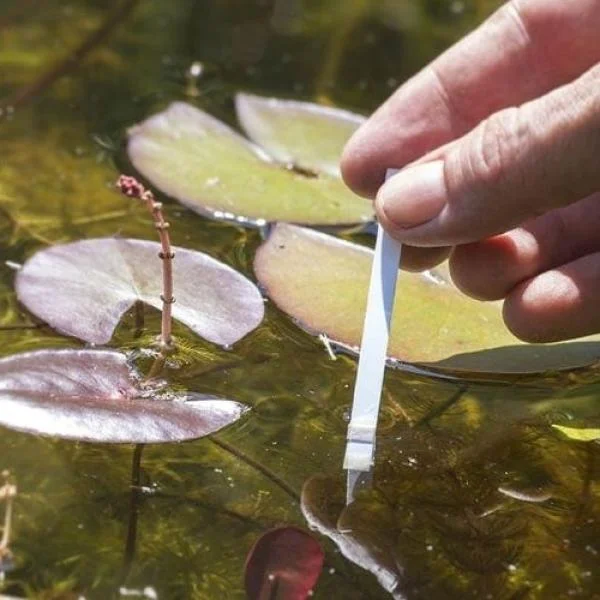
Use a reliable test kit:
- Digital testers or liquid test kits are generally more accurate than test strips
- Ensure your test kit is not expired and has been stored properly
Test and adjust in the following order:
a) Total Alkalinity: Aim for 80-120 ppm
- To increase: Use an alkalinity increaser (sodium bicarbonate)
- To decrease: Use a pH decreaser (muriatic acid or sodium bisulfate)
b) pH: Target range is 7.2-7.6
- To increase: Use a pH increaser (soda ash)
- To decrease: Use a pH decreaser (muriatic acid or sodium bisulfate)
c) Calcium Hardness: Ideal range is 200-400 ppm
- To increase: Use a calcium hardness increaser
- To decrease: Partially drain and refill the pool with softer water
d) Chlorine: Maintain 1-3 ppm
- To increase: Add chlorine (shock treatment may be necessary)
- To decrease: Wait for sunlight to naturally lower levels or use a chlorine neutralizer
Stabilizer (Cyanuric Acid): If you use stabilized chlorine, maintain 30-50 ppm
- To increase: Add cyanuric acid
- To decrease: Partially drain and refill the pool
Metals: Test for copper and iron, especially after heavy rain
- If present, use a metal sequestrant to prevent staining
Phosphates: Test and remove if levels are above 100 ppb
- Use a phosphate remover according to product instructions
Remember to add chemicals one at a time, allowing the pump to circulate for at least 6 hours between additions. Retest and adjust as necessary until all levels are within the recommended ranges.
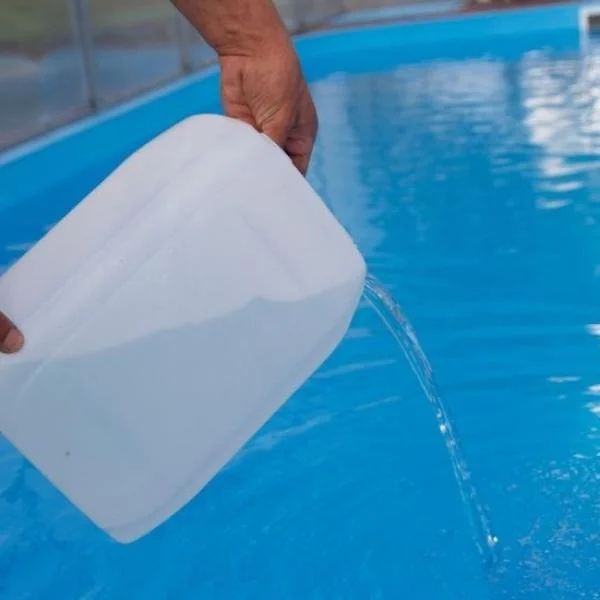
Step 4: Shock the Pool
Shocking your pool after rain is crucial for eliminating bacteria and preventing algae growth. Follow these detailed steps:
Calculate the required amount:
- Determine your pool volume in gallons or liters
- Follow the shock product instructions for post-rain treatment (usually a higher dose than regular shocking)
Prepare the shock treatment:
- Dissolve the calculated amount of granular shock in a bucket of pool water
- For liquid shock, no pre-mixing is necessary
Apply the shock:
- With the pump running, pour the shock solution evenly around the pool's perimeter
- For larger pools, walk around the pool while pouring to ensure even distribution
Brush the pool:
- Immediately after adding shock, brush the entire pool to distribute the chemical and prevent settling
Run the filtration system:
- Keep the pump running for at least 8 hours, preferably 24 hours for complete circulation
Test and wait:
- Conduct a chlorine level test after 24 hours.
- Wait until chlorine levels return to 1-3 ppm before swimming
- If chlorine levels remain high after 24 hours, you can use a chlorine neutralizer to bring them down safely
Monitor and adjust:
- Continue testing the water daily for several days after shocking
- Be prepared to shock again if heavy rain continues or if signs of algae appear
Remember, always shock your pool in the evening or at night to prevent the sun from burning off the chlorine too quickly. Ensure proper ventilation when handling pool chemicals, and always wear protective gear.
Step 5: Add Flocculant
This step is particularly useful for pool after rain when the pool may be dealing with fine debris and contaminants:
- Timing: Wait 24-48 hours after shocking before adding flocculant to allow the shock treatment to work effectively.
- Choose the right product: Select a flocculant suitable for your pool type and size.
- Calculate the dosage: Determine the correct amount based on your pool volume and the product instructions.
- Application: With the pump running, add the flocculant directly to the pool water, distributing it evenly around the perimeter. Allow the flocculant to circulate for several hours.
- Turn off the pump: After circulation, turn off the pump and let the water sit undisturbed for 48-72 hours. This allows the particles to settle to the bottom of the pool.
- Vacuum to waste: Use your pool vacuum on the "waste" setting to remove the settled particles. This bypasses your filter to prevent clogging.
- Refill the pool: Add fresh water as needed to replace what was removed during vacuuming.
- Final filter cleaning: Backwash or clean your filter to remove any remaining particles.
Step 6: Remove Phosphates
Phosphate removal is crucial for preventing algae growth, especially after rain which can introduce high levels of phosphates:
- Test phosphate levels: Use a phosphate test kit to determine the concentration in your pool.
- Choose a remover: Select a phosphate remover product suitable for your pool size and phosphate level.
- Calculate the dosage: Determine the correct amount based on your pool volume and phosphate level.
- Application: With the pump running, add the phosphate remover according to product instructions. Distribute the product evenly around the pool's perimeter.
- Circulation: Run your filter continuously for at least 24 hours to allow the product to work effectively.
- Follow-up treatment: After 48 hours, treat with a water clarifier at a rate of 30ml per 10,000 liters to help remove any remaining cloudiness.
- Filter maintenance: After 48 hours, clean or backwash your filter to remove the phosphates captured by the filter.
- Retest: Check phosphate levels again after treatment and repeat the process if levels remain high.
Step 7: Monitor and Maintain
Ongoing monitoring and maintenance are crucial for ensuring your pool remains in top condition after recovering from rain:
- Regular testing: Test your pool water at least 2-3 times per week, adjusting chemicals as needed.
- Maintain filtration: Run your pump for at least 8-12 hours daily, longer if dealing with ongoing water quality issues.
- Brush and vacuum: Regularly brush pool surfaces and vacuum as needed to prevent debris accumulation.
- Monitor weather: Stay aware of upcoming weather patterns and be prepared to take preventive measures before future rainstorms.
- Ongoing chemical balance: Continuously monitor and adjust pH, alkalinity, and sanitizer levels to maintain optimal water chemistry.
- Regular shock treatments: Perform routine shock treatments every 1-2 weeks, or more frequently during periods of heavy use or rainy weather.
- Equipment checks: Regularly inspect and maintain all pool equipment, including pumps, filters, and automatic cleaners.
Monitor and Maintain your pool
Common Post-Rain Pool Issues
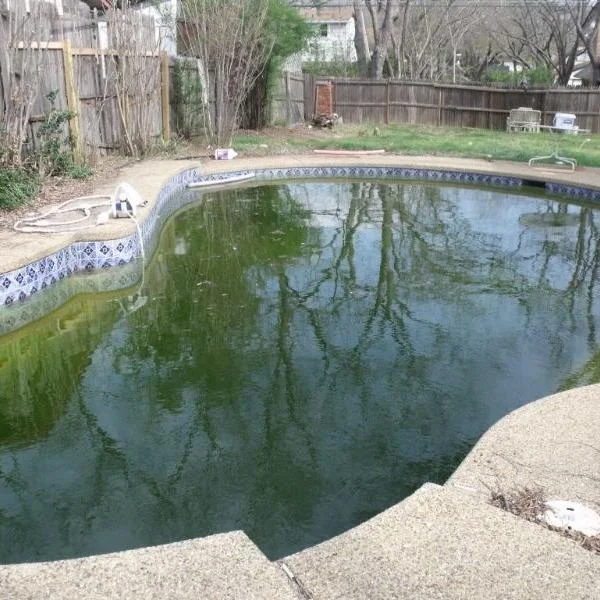
Cloudy Pool After Rain
A cloudy pool is a common issue after heavy rainfall. This can be caused by:
- Debris and contaminants brought in by rainwater
- Unbalanced pH and alkalinity levels.
- The clogged filters are causing the filtration to be ineffective.
To address this issue, follow the steps outlined above, paying particular attention to water balance and filtration.
Bugs in Pool After Rain
Insects are often washed into pools during rainstorms. To manage this:
- Use a skimmer net to remove visible bugs.
- Ensure proper chlorine levels to kill any remaining insects.
- Consider using a pool cover during future rainstorms to prevent bug intrusion.
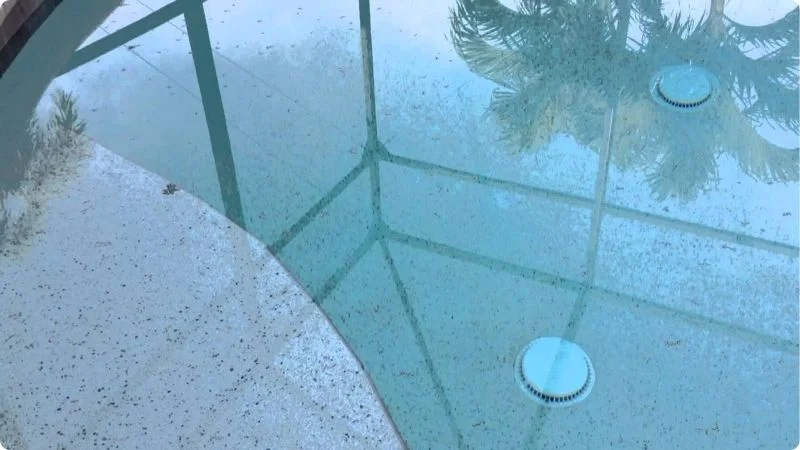
Insects are often washed into pools during rainstorms
Preventive Measures for Future Rainstorms
To minimize the impact of future rainstorms on your pool:
- Get a high-quality pool cover.
- Maintain a proper chemical balance throughout the year.
- Cut back nearby trees and bushes to lessen the amount of debris
- Install a leaf catcher or canister to prevent debris from clogging your skimmer.
- Consider installing an automatic pool water leveler to prevent overfilling during heavy rains.
When to Seek Professional Help
While most post-rain pool recovery can be managed by homeowners, there are situations where professional help may be necessary:
- If you notice cracks or damage to pool walls or equipment
- If your pool remains cloudy or develops algae despite following proper recovery steps
- If you're unsure about handling pool chemicals or equipment
A professional pool service can provide expert assistance and ensure your pool is safe and ready for swimming.
Conclusion
Managing your pool after rain is essential for maintaining water quality, protecting your investment, and ensuring a safe swimming environment. By following the steps outlined in this guide, you can quickly recover your pool from the effects of rain and storms. Remember to always prioritize safety when handling pool chemicals and equipment, and don't hesitate to seek professional help when needed. With proper care and maintenance, your pool will be ready for enjoyment as soon as the sun returns.
Related Articles
Beyond the Surface: A Deep Dive into Water Parameters
Water quality is a crucial aspect of environmental science, public health, and various industries. ...
Pond Filtration 101: Essential Tips for a Thriving Aquatic Environment
Creating a serene pond environment in your backyard can be a rewarding experience. Imagine fish ...
pH in Ponds: Maintaining a Healthy Aquatic Ecosystem
When it comes to maintaining a thriving pond ecosystem, one of the most critical factors to consider ...
Beyond the Surface: Understanding and Preventing Pool Contamination
Swimming pools are a source of joy and relaxation for millions of people worldwide. However, they ...
Pool Chemicals Explained: Essential Tips for Pool Owners
Swimming pools are a fantastic addition to any home, providing a space for exercise, relaxation, and ...
The Natural Way to Clean Pool Without Chemicals
Maintaining a clean and inviting swimming pool is essential for both enjoyment and health. While ...